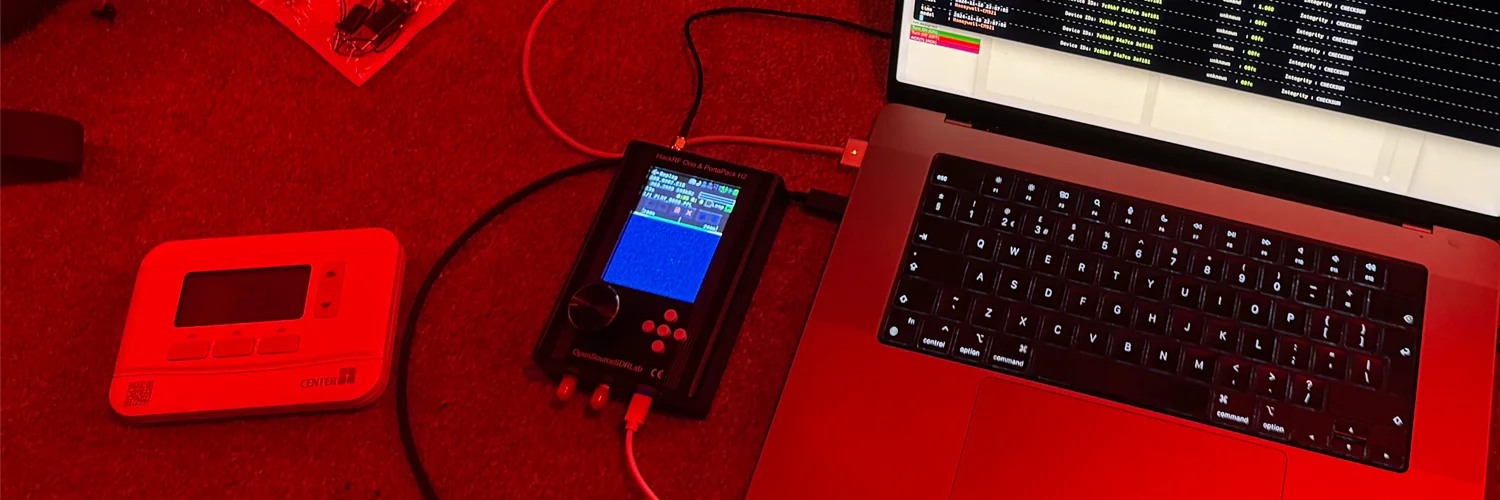
A little while ago I moved into an apartment to live on my own for the first time. This has given me a decent amount of newfound freedom to sculpt my living environment to my liking, but not enough where I could start knocking down walls. I have a landlord (and a deposit!) to think about, after all. 
While it isn’t near the level of knocking down walls, I was finding heating my apartment rather frustrating. The boiler’s thermostat installed by my landlord is a single radio-controlled unit that uses a built-in temperature sensor to modulate the heating on and off to meet a target temperature. This presents a few first-world problems:
- The temperature sensor can only sample a single room in the apartment, which heats unevenly.
- That room is dependent on the physical proximity of the thermostat’s controls, which can be annoying to use if I might be in bed and the controls are in the living room or vice versa.
- If I forget to turn the heating off before I leave the apartment, I’m wasting a lot of costly energy.
I automate things around my apartment with Home Assistant, and I wanted to be able to do the same here. There are a lot of off-the-shelf solutions for this, obviously, but to get back to the knocking-down-walls comparison, they would require my landlord’s cooperation and likely a visit from an electrician. I don’t want that!
Instead, here’s how I figured out how to control my apartment’s heating in a way that leaves no trace using the existing thermostat already fitted by my landlord, and maybe learn a bit about radios along the way.
Where Do We Start?
I knew that the thermostat communicated with the boiler through some kind of radio protocol. We could try to reverse-engineer the protocol from scratch, but as I’ll get into later, that turns out to be very involved and way beyond my minimal radio skills.
I eventually decided it was a lot easier to attempt something called a Replay Attack. This involves cloning the signals sent between the boiler and the thermostat, and then pretending we are the thermostat by re-broadcasting the signals. This way we don’t need to understand the protocol, just replay it.
Initial Reconnaissance
The first thing I did was check to see if there was any information online about my specific thermostat. I came across a listing for the exact model I had, along with a datasheet in the attachments section. The section on RF Communication is exactly what I was looking for:
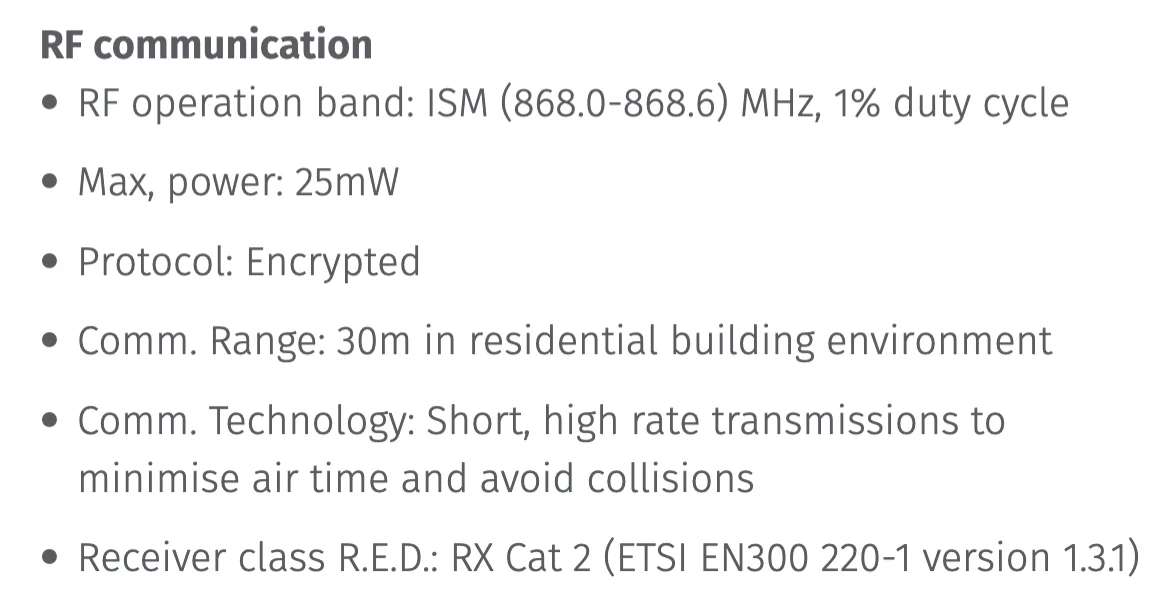
From this, we know the thermostat communicates around the 868Mhz range. The Protocol: Encrypted part was initially a bit concerning, but it turned out to not be a problem.
The first issue I’m running into here is that there are shockingly few resources on cloning a 868Mhz signal online. Most beefy resources were about using LoRa/Meshtastic. I would come across a lot of Reddit posts of people trying to do the same thing as me for things like ceiling fans and garage doors, but nobody seemed to have any answers… 
Seeing Signals
So without much to go on, I thought the first thing to do would be to actually see the radio packets and inspect them. I’d read about Software-Defined Radios in the past and guessed it’d be my best bet. Most SDRs are really expensive, so I went with the budget RTL-SDR V4 off of AliExpress. (This actually ended up being somewhat unnecessary for reasons we’ll eventually get to!)
After it arrived, I hooked it up to my laptop with the SDR++ software just to see if it worked and get an initial glimpse of my thermostat yapping. After pressing the thermostat’s buttons a few times, I managed to see the waterfall light up!
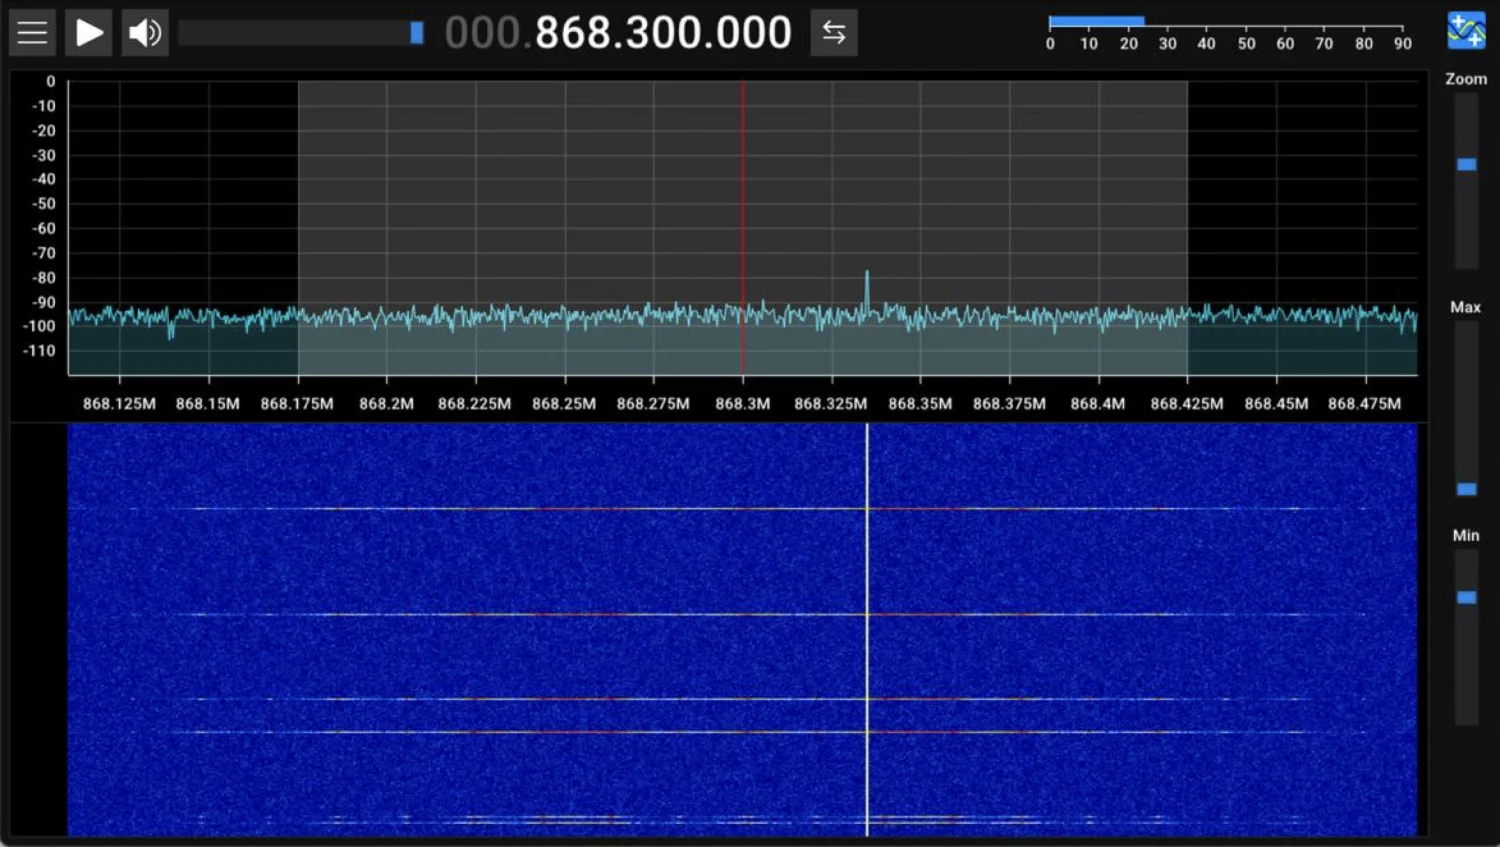
This step isn’t super important, but we can then try to use the rtl_433 tool (it works on other frequencies despite the name) to see if the thermostat is speaking a known protocol. More obscure devices might not work here!
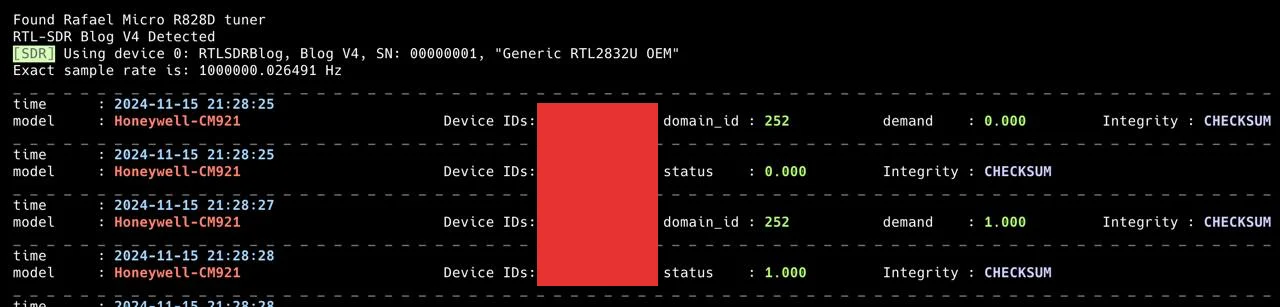
It seems like this thermostat speaks the same protocol as another Honeywell one. The demand attribute sets whether the boiler is on (1) or off (0), and then the boiler responds with an acknowledgement (presumably so the thermostat can determine if it’s out of range).
Trying To Yell Back
Now that we’ve actually seen the back-and-forth communication, we want to be able to send some packets ourselves and puppeteer the boiler as if we were the thermostat.
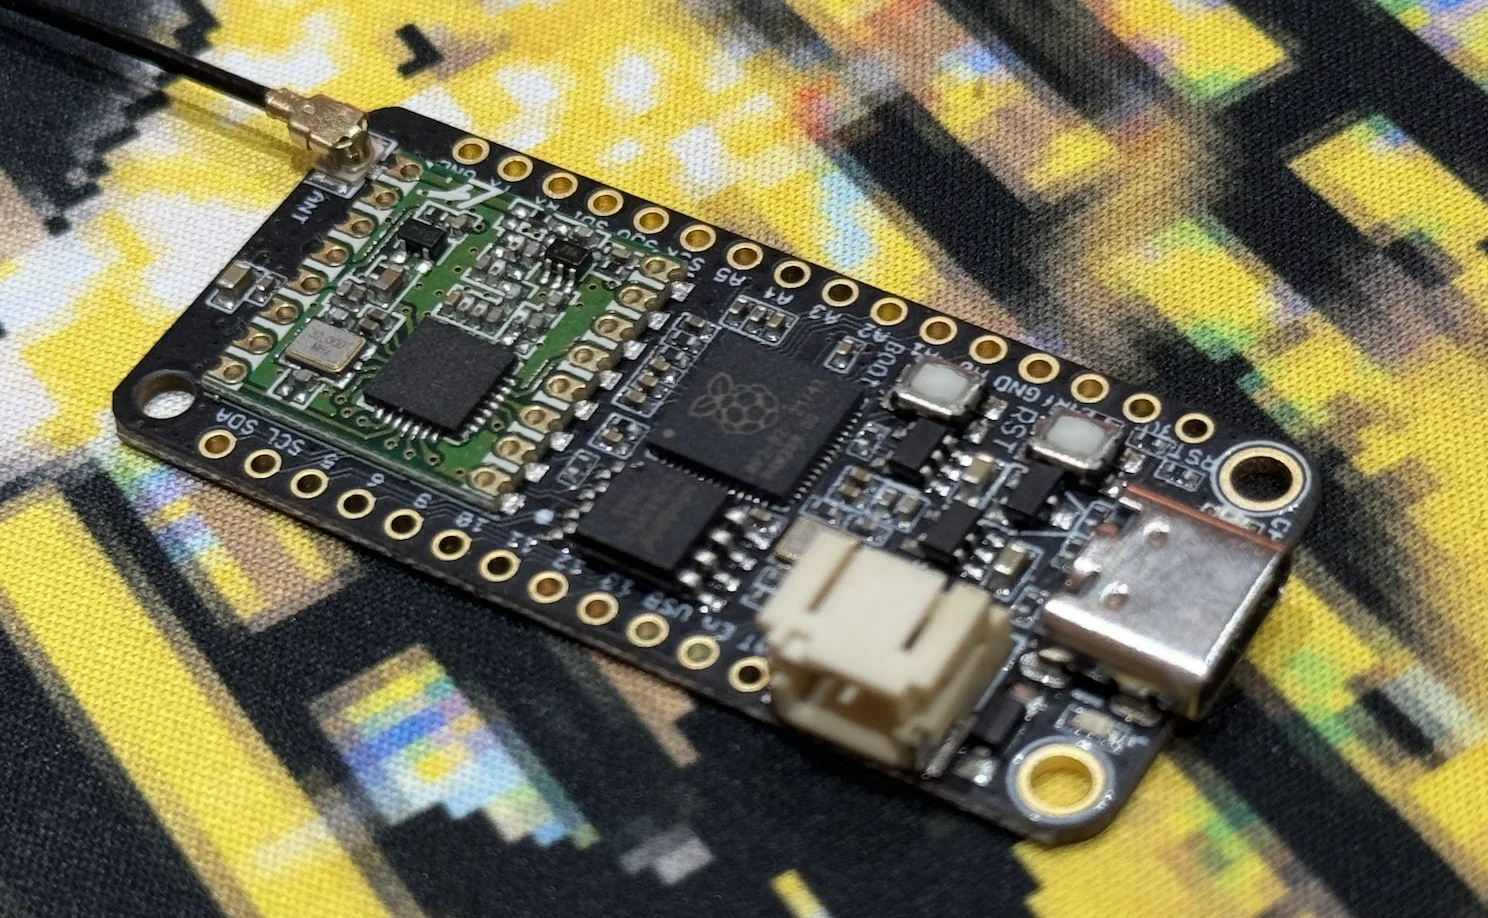
This was the step I got stuck on for months. I was trying the “smart” route of attempting to reverse-engineer and reconstruct the packets by hand using URH and then broadcasting them with very cheap 868Mhz microcontroller boards. I can safely say this was all wayyy outside of my skill set. None of the boards were really designed to talk to anything other than the exact same board, and going any further than that required poking at radio registers in ways I wasn’t comfortable doing.
The HackRF
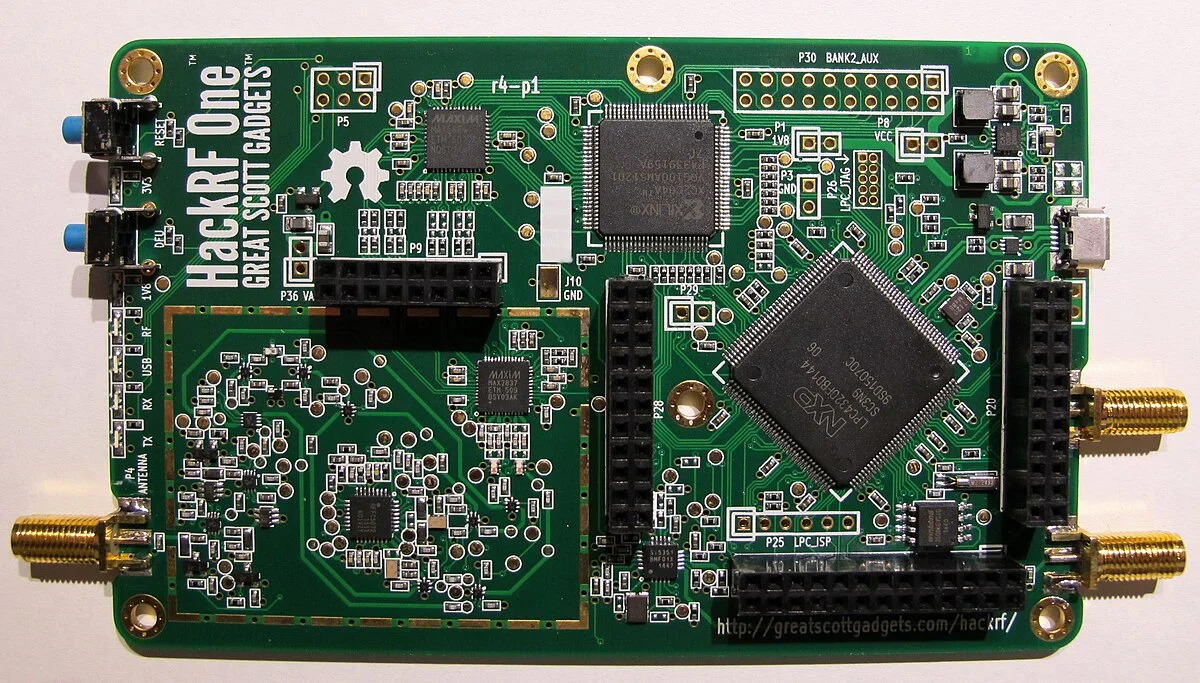
I decided to then go for the sledgehammer approach: use a full-blown SDR to just replay the exact same signal without a care for what the signal actually contains. But the cheap RTL-SDR I got earlier only supports receiving, not broadcasting. SDRs that can broadcast are usually hundreds of dollars.
I say usuallyyy because one of the most common broadcast-capable SDRs, the HackRF One (usually upwards of $400), had numerous clones available on AliExpress for a fraction of the price—just $40.
There are some obvious ethical (and probably a few technical) problems with cheap clones of what is meant to be open-source hardware, but I figured it’d be fine for my small use case. Please support the original hardware project if it’s within your means to!
Actually Yelling Back
With the HackRF in hand, we can use the hackrf_transfer tool to record signals and, most importantly, replay signals. I perform these commands and then press the appropriate controls on the thermostat to write the signals to individual files:
# We set the frequency to 868.3Mhz and the sample rate to 2000000.
hackrf_transfer -r turn_off.raw -f 868300000 -s 2000000
hackrf_transfer -r turn_on.raw -f 868300000 -s 2000000
And then we can try and turn the boiler off and on from CLI like this:
# We use -a to turn on the amplifier and -x to increase the gain a tad.
hackrf_transfer -t turn_off.raw -f 868300000 -s 2000000 -a 1 -x 23
hackrf_transfer -t turn_on.raw -f 868300000 -s 2000000 -a 1 -x 23
After doing this, I could hear the physical relay inside of my boiler turning on and off!
Automating The Whole Thing
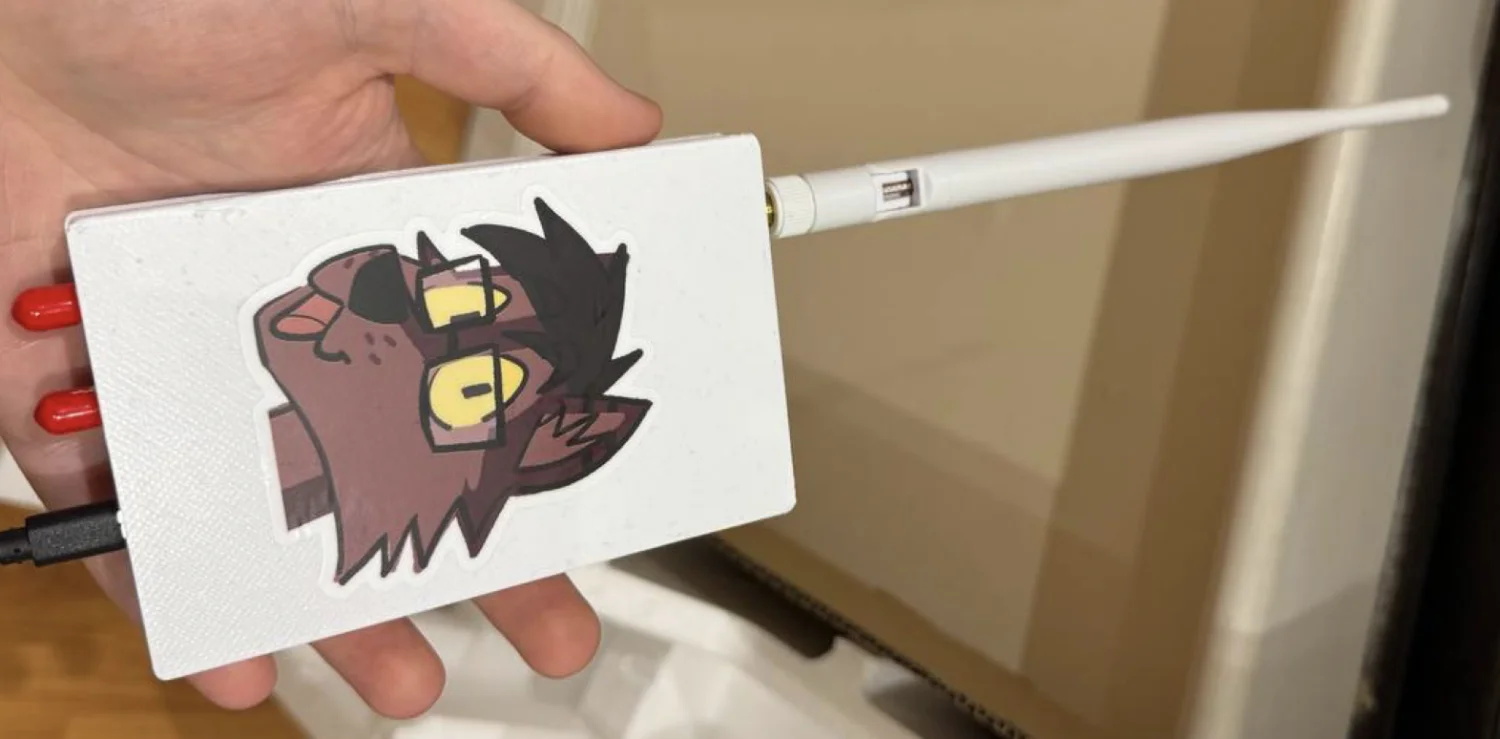
I have the HackRF plugged into a powered USB hub connected to my Home Assistant server. I wrote a very basic web server that simply shells out to the transmit commands above in a Docker container.
Then with an Average Sensor Plugin and the config YAML below:
command_line:
  - switch:
    name: Boiler
    command_on: "curl http://docker-vm:1111/api/on"
    command_off: "curl http://docker-vm:1111/api/off"

sensor:
  - platform: average
    name: "Average Temperature"
    entities:
      - sensor.bedroom_thermostat_temperature
      - sensor.kitchen_thermostat_temperature

climate:
  - platform: generic_thermostat
  name: Boiler Thermostat
  heater: switch.boiler
  target_sensor: sensor.average_temperature
We have a working controllable thermostat! 
At this point I was just happy to have the thing working after so many months, so I’ll be the first to admit this setup with Home Assistant is a bit slapdash and could use some cleanup. It’d be better to write a proper plugin and control the radio directly instead of shelling out to the CLI. Relying on curl to heat my apartment is maybe a bit cursed?
Was It Worth It?
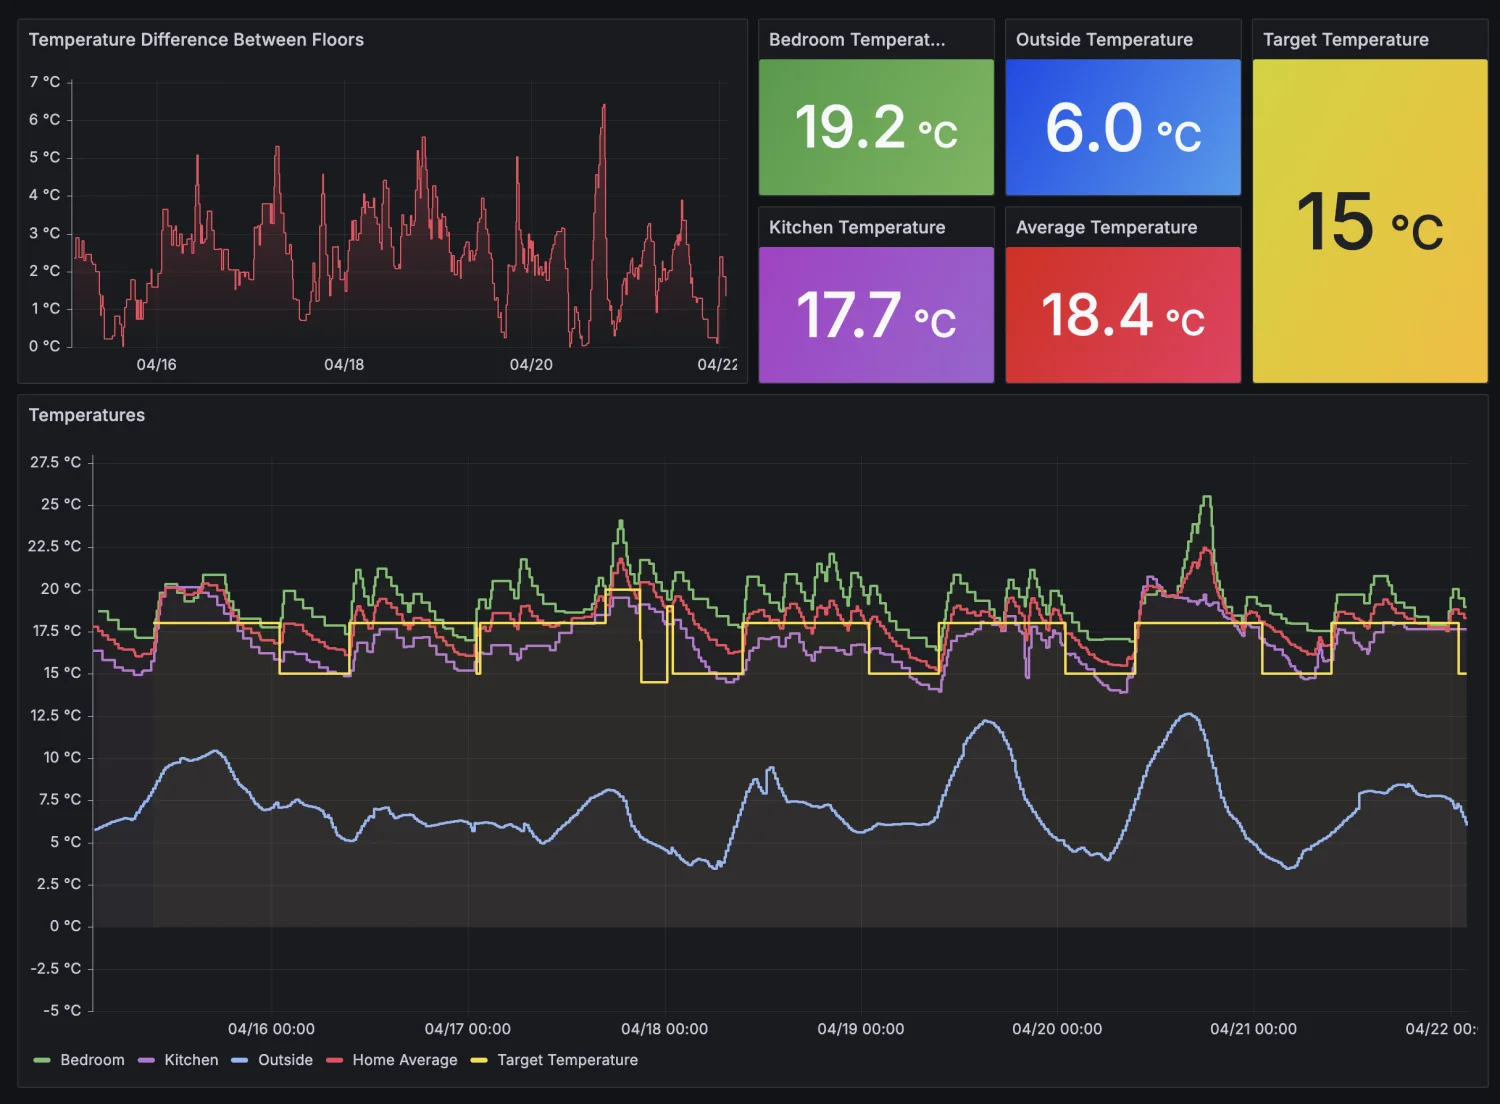
I’ve been using this setup to control the heating of my apartment since the beginning of December and haven’t had any issues since! It’s super convenient to dial in the temperature from my phone, and the automations I have make me feel like this project was really worth the work.
I have some basic automations like having the temperature go down when I’m sleeping and then up in the morning in time for me waking up, but I also have it so the heating turns off when I go into town and turns back on when I’m just a few train stops away so my place is nice and toasty for me getting home!
The only thing I’m not happy with is needing to use a very powerful and versatile radio like the HackRF for something as simple as a boiler on/off switch. But I’d rather use something overkill and have it work than spend ages trying to force smaller radios to do my bidding.
The important thing is I’m not as cold as I used to be!